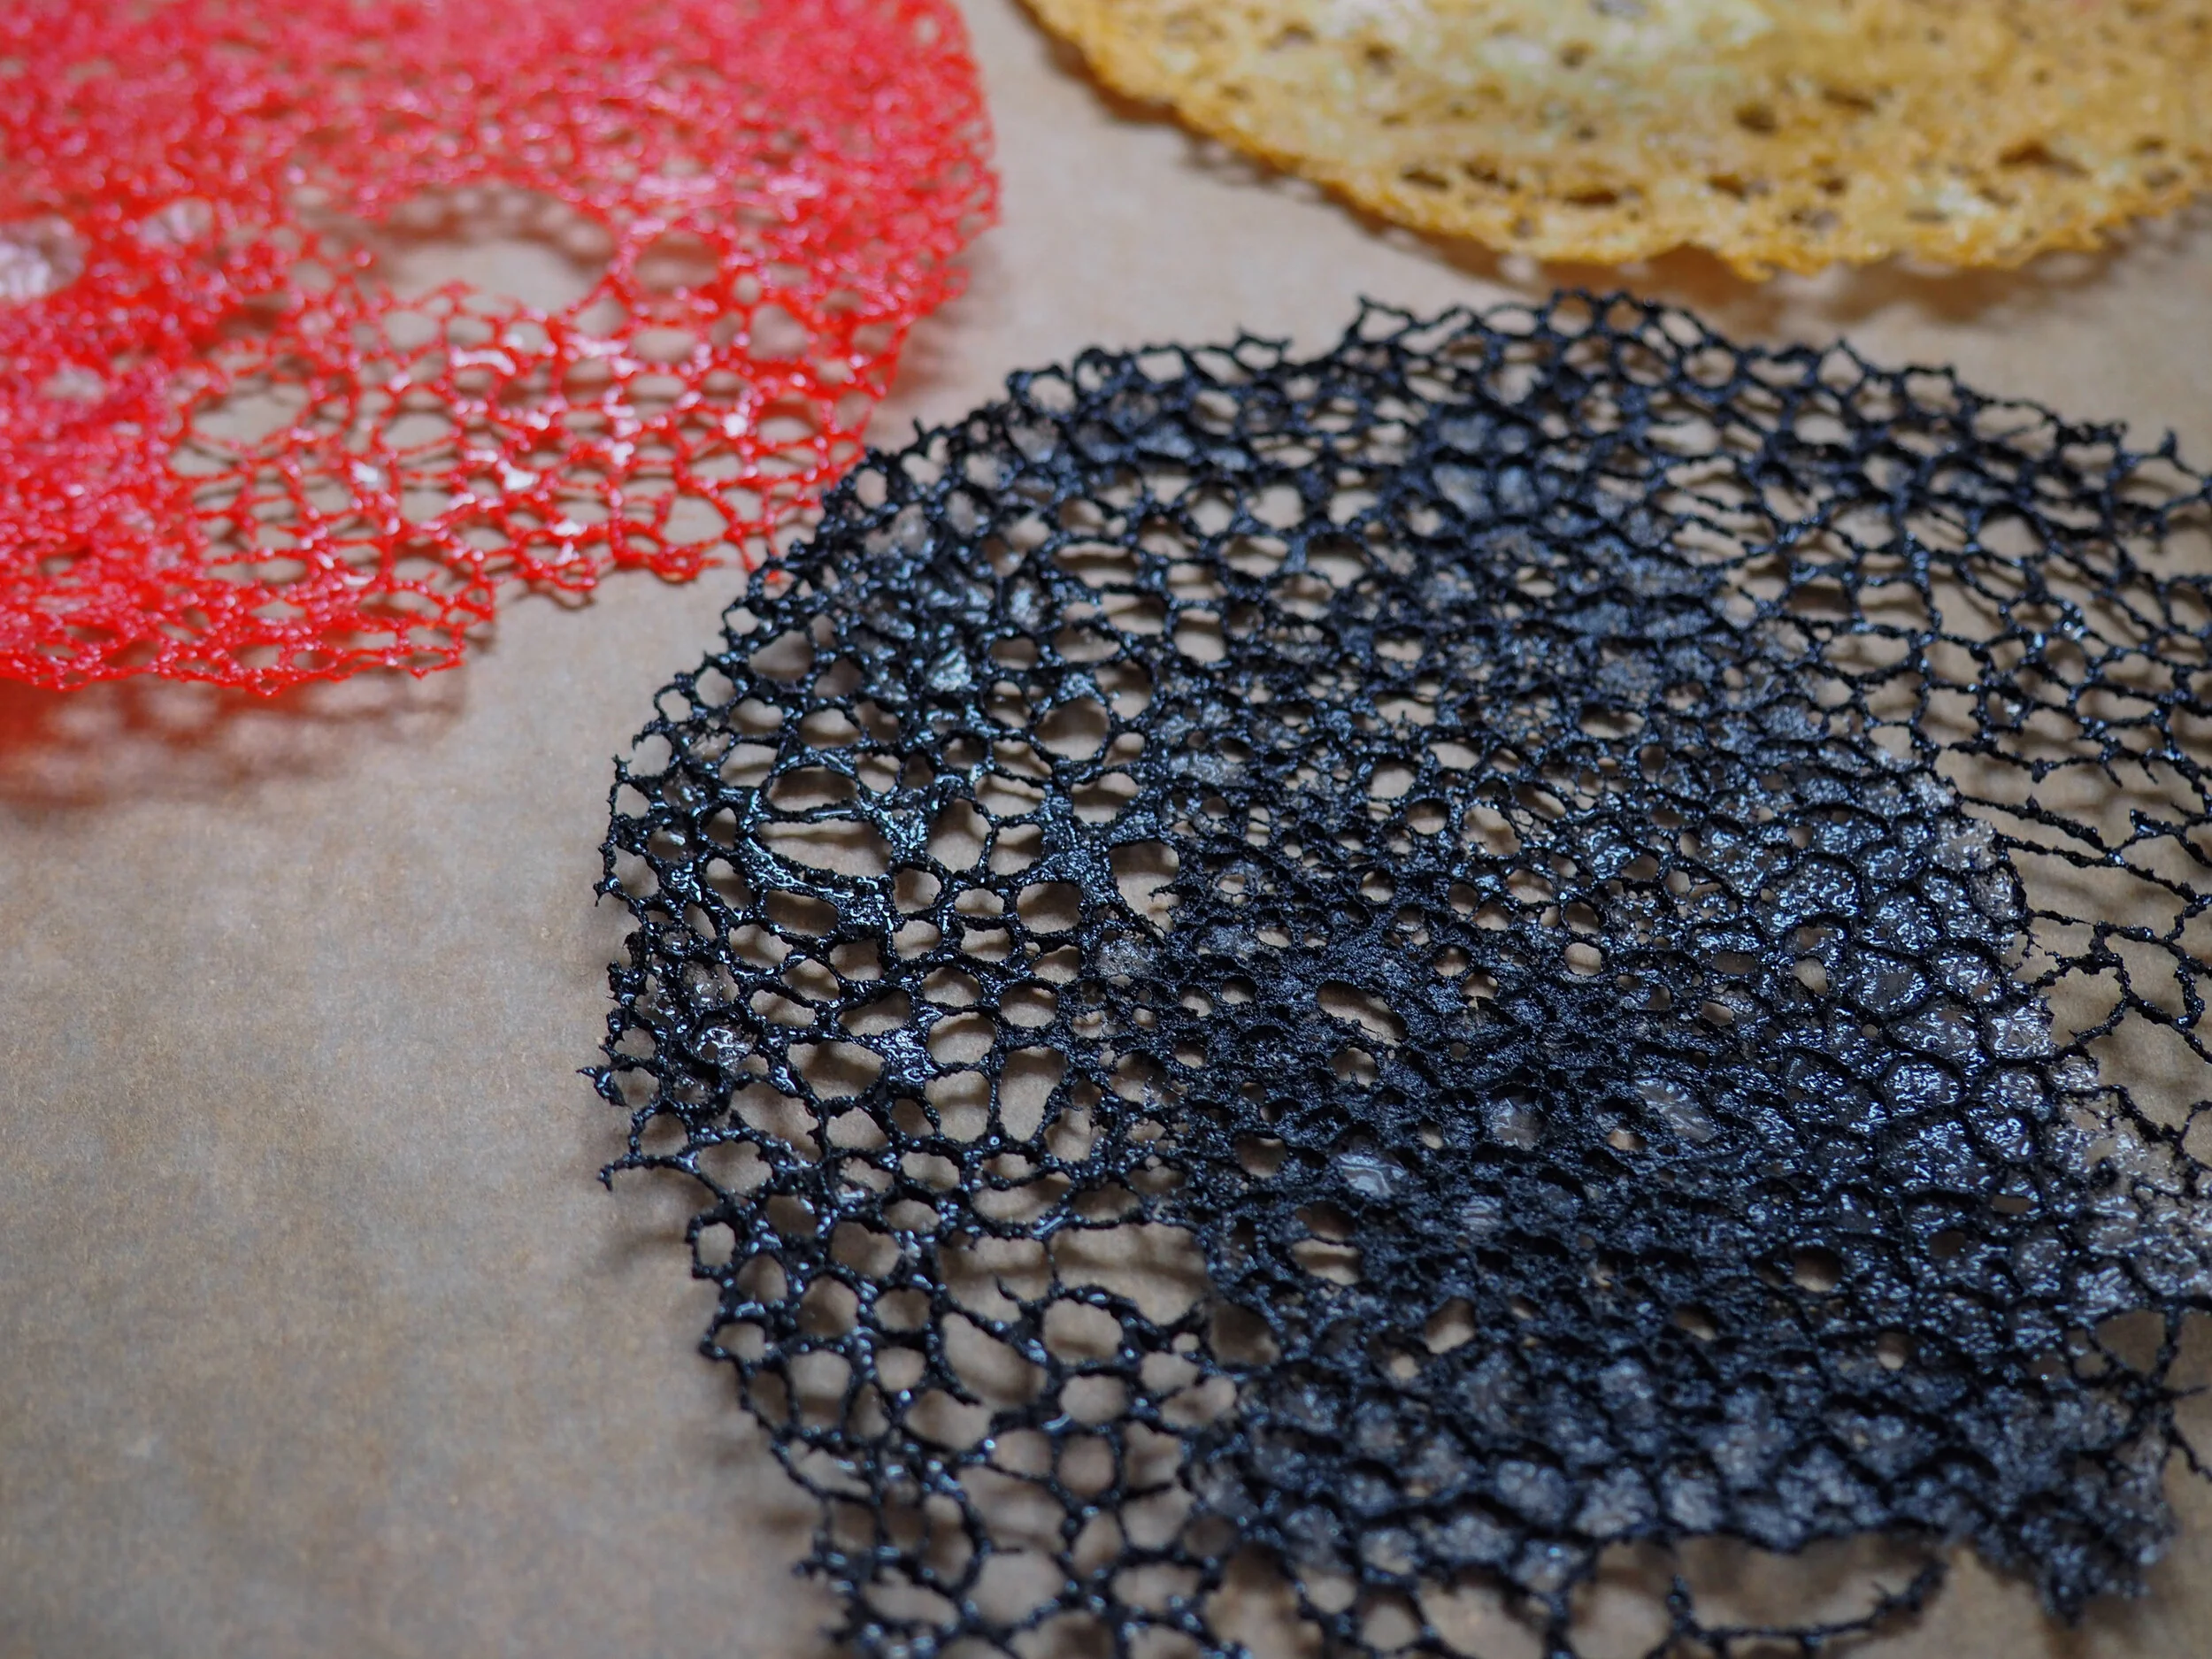
How to Make a Coral Tuile Garnish
To give an original and particular touch to your dishes, why not make a "coral" decoration?
Looks impressive ... and adds a great textural component to any dish!
While these are being used quite commonly in high end restaurants doing quite fancy molecular, modern cuisine, these tuile are anything but complicated.
The recipe and preparation method is very simple. The main ingredients are water, oil and flour to which you can add anything that can give aroma and color.
All we need to do is create the right balance between the liquids and solids present.
It is cooked in a hot non-stick frying pan. The water present will evaporate and this splendid "coral" decoration will remain.
I found that they take a bit of practice knowing how much batter to put in the pan and for how long each one needs to be cooked but I eventually got the hang of it.
Coral Tuile Recipe:
95g water
10 g all purpose flour
Food colour
Method:
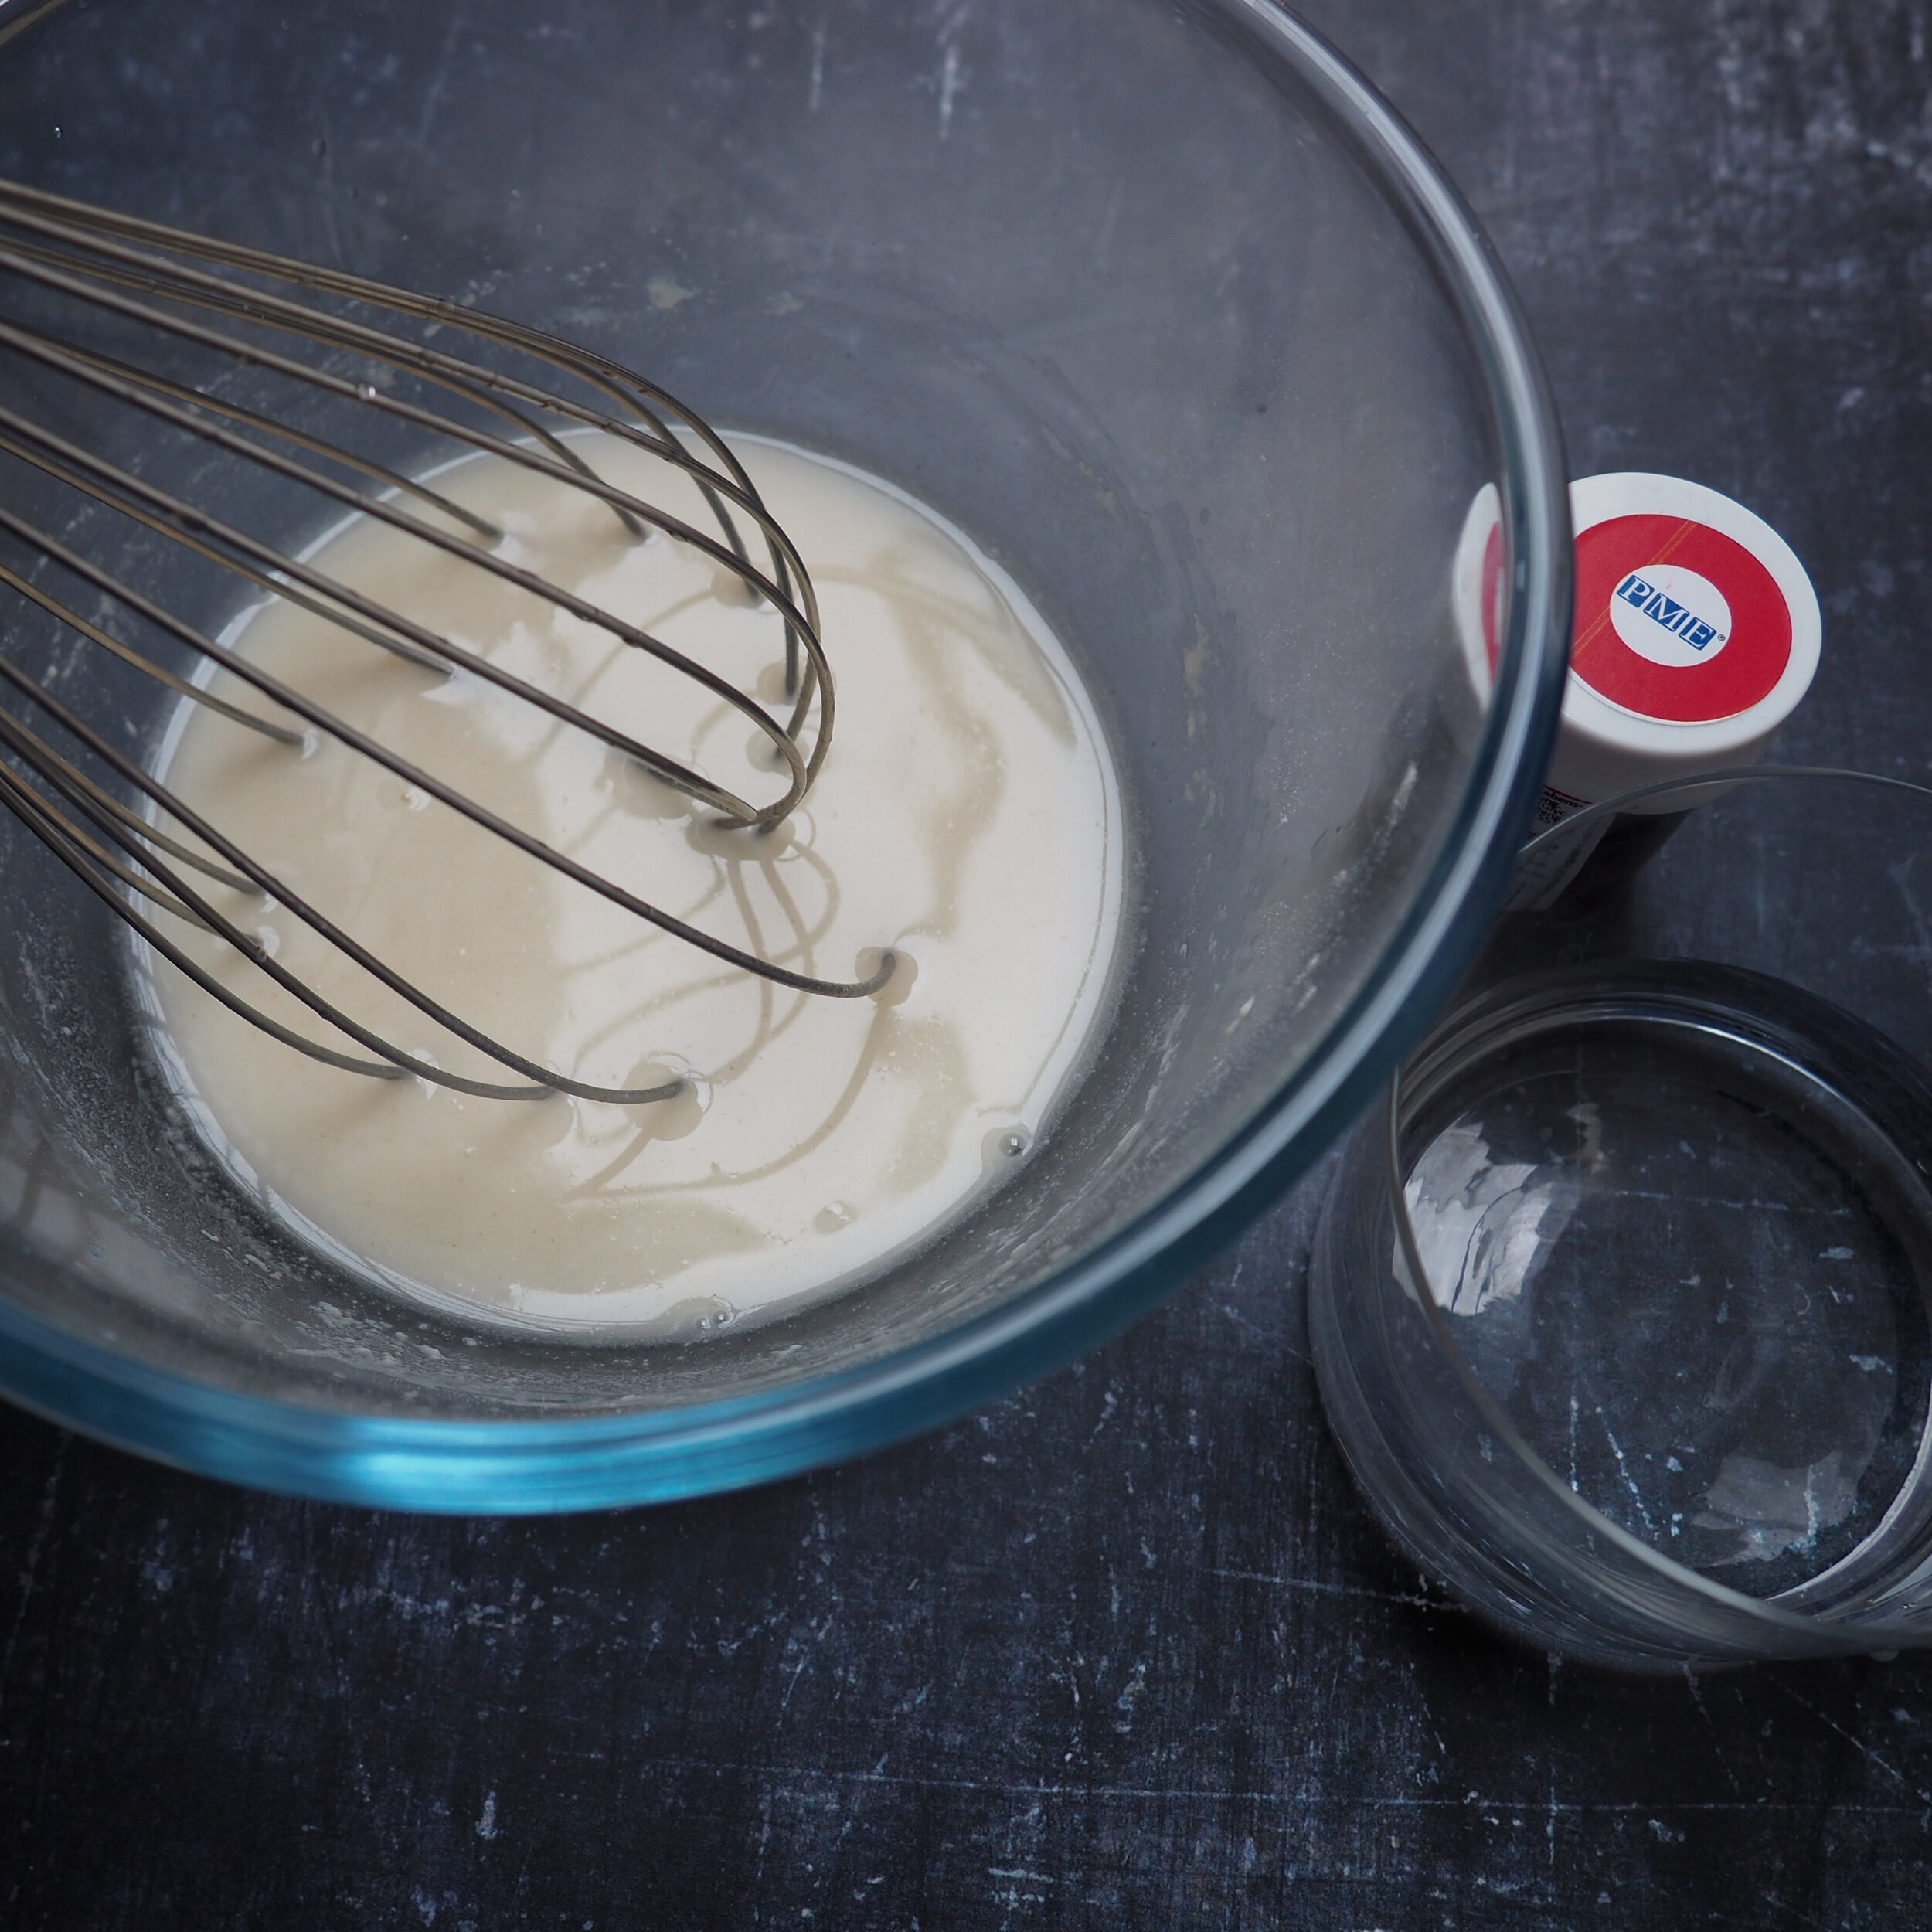
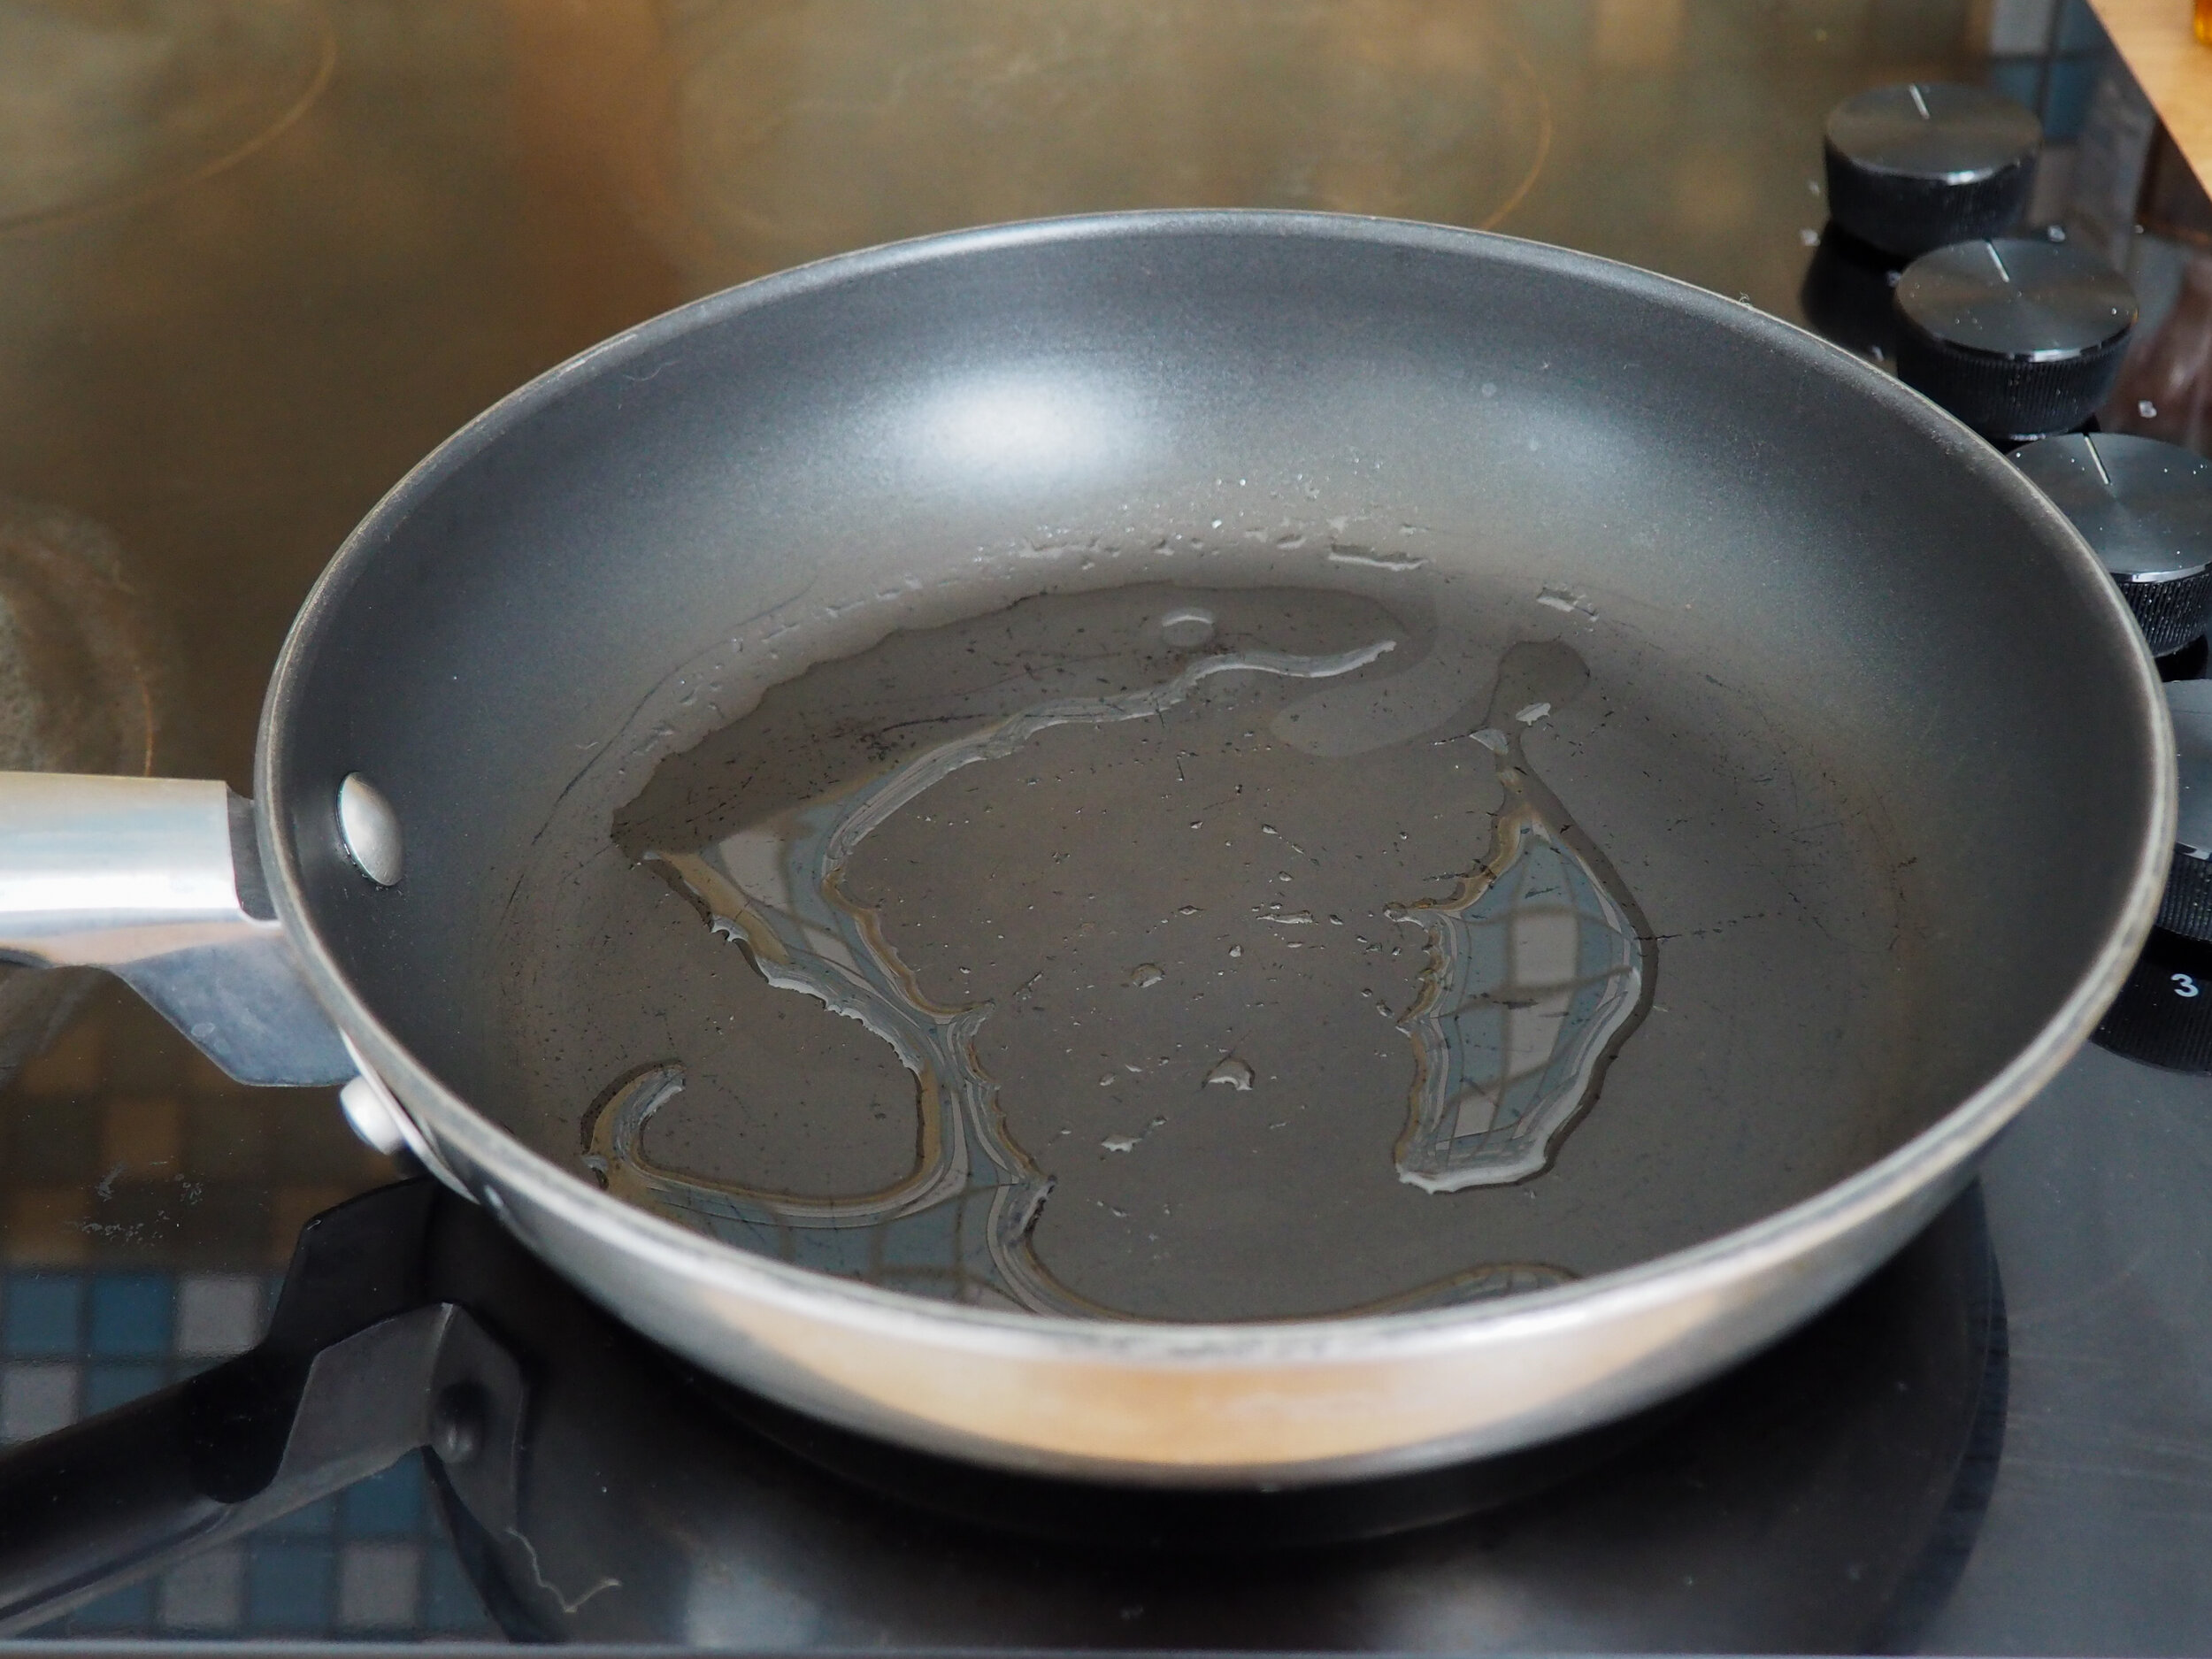
Whisk all of the ingredients together until smooth. In a pan (size depending on your needs) coat the pan with about a mm or two of neutral oil with a high smoke point. I used canola.


Wait for the oil to heat up then pour some of the tuile batter into the pan. Watch out as the batter splatters as the water leaves the oil. I highly recommend using a mesh splatter shield to avoid getting hit with hot oil. I pour my tuile mix into the pan and immediately cover it with a splatter shield until the splattering simmers down.


Cook for a few minutes until the bubbles subside and the surface of the tuile starts to look matte. The edges should also start to lift away from the pan. At this point take an offset or small pair of tongs or tweezers and gently removed the tuile.
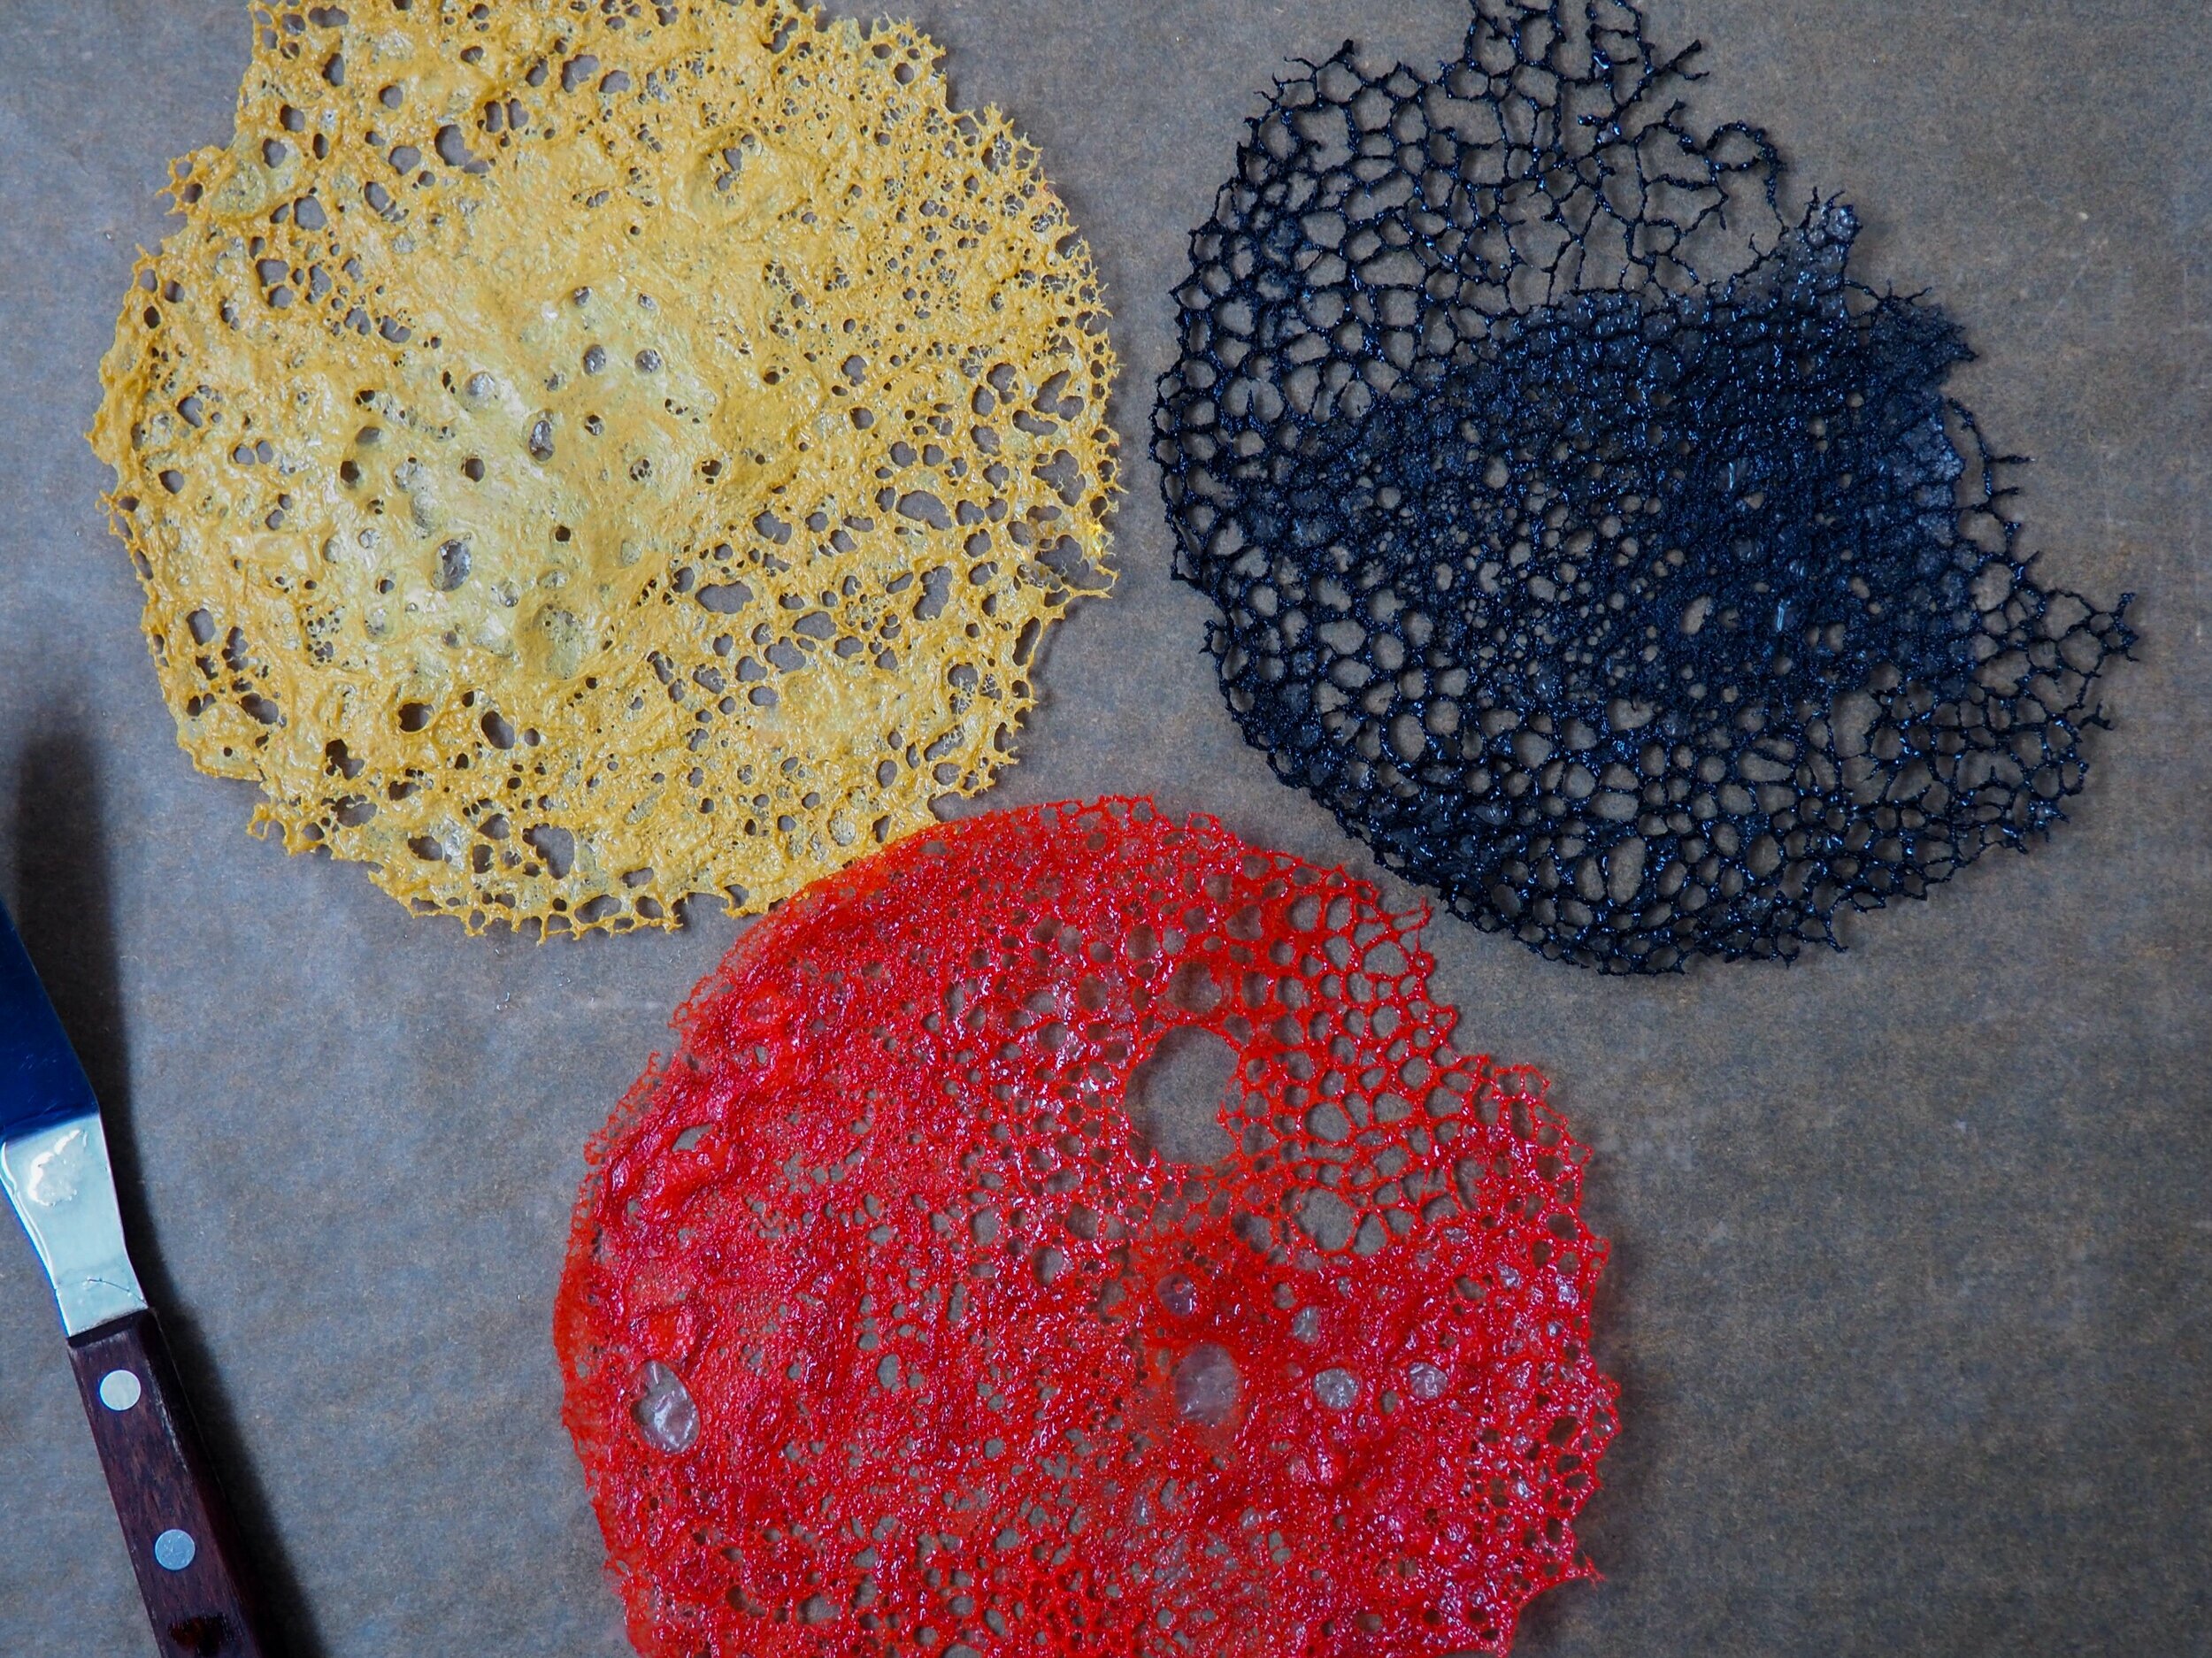
Place it on parchment paper to absorb excess liquid. You can colour these however you like, one popular method is using squid ink in these tuiles instead of food colour but they can be dyed essentially any colour you'd like.
TIPS FOR CORAL TUILE SUCCESS:
The amount of oil and the temperature of the oil in the pan are critical.
Not enough oil and it will not bubble enough, and it will not come out of the pan easily. On the other hand, too much oil and you’ll have one greasy tuile. Also, if the pan is not heated enough, the oil will not bubble. If the pan is not heated evenly, the cookie will not cook evenly. Once you have a sense of these core components, you will be a coral tuile master!Be super careful handling them once they cool - they become very crisp and brittle!
Store in an airtight container with some silica gel sachets to keep them nice and crisp for up to 3 days.
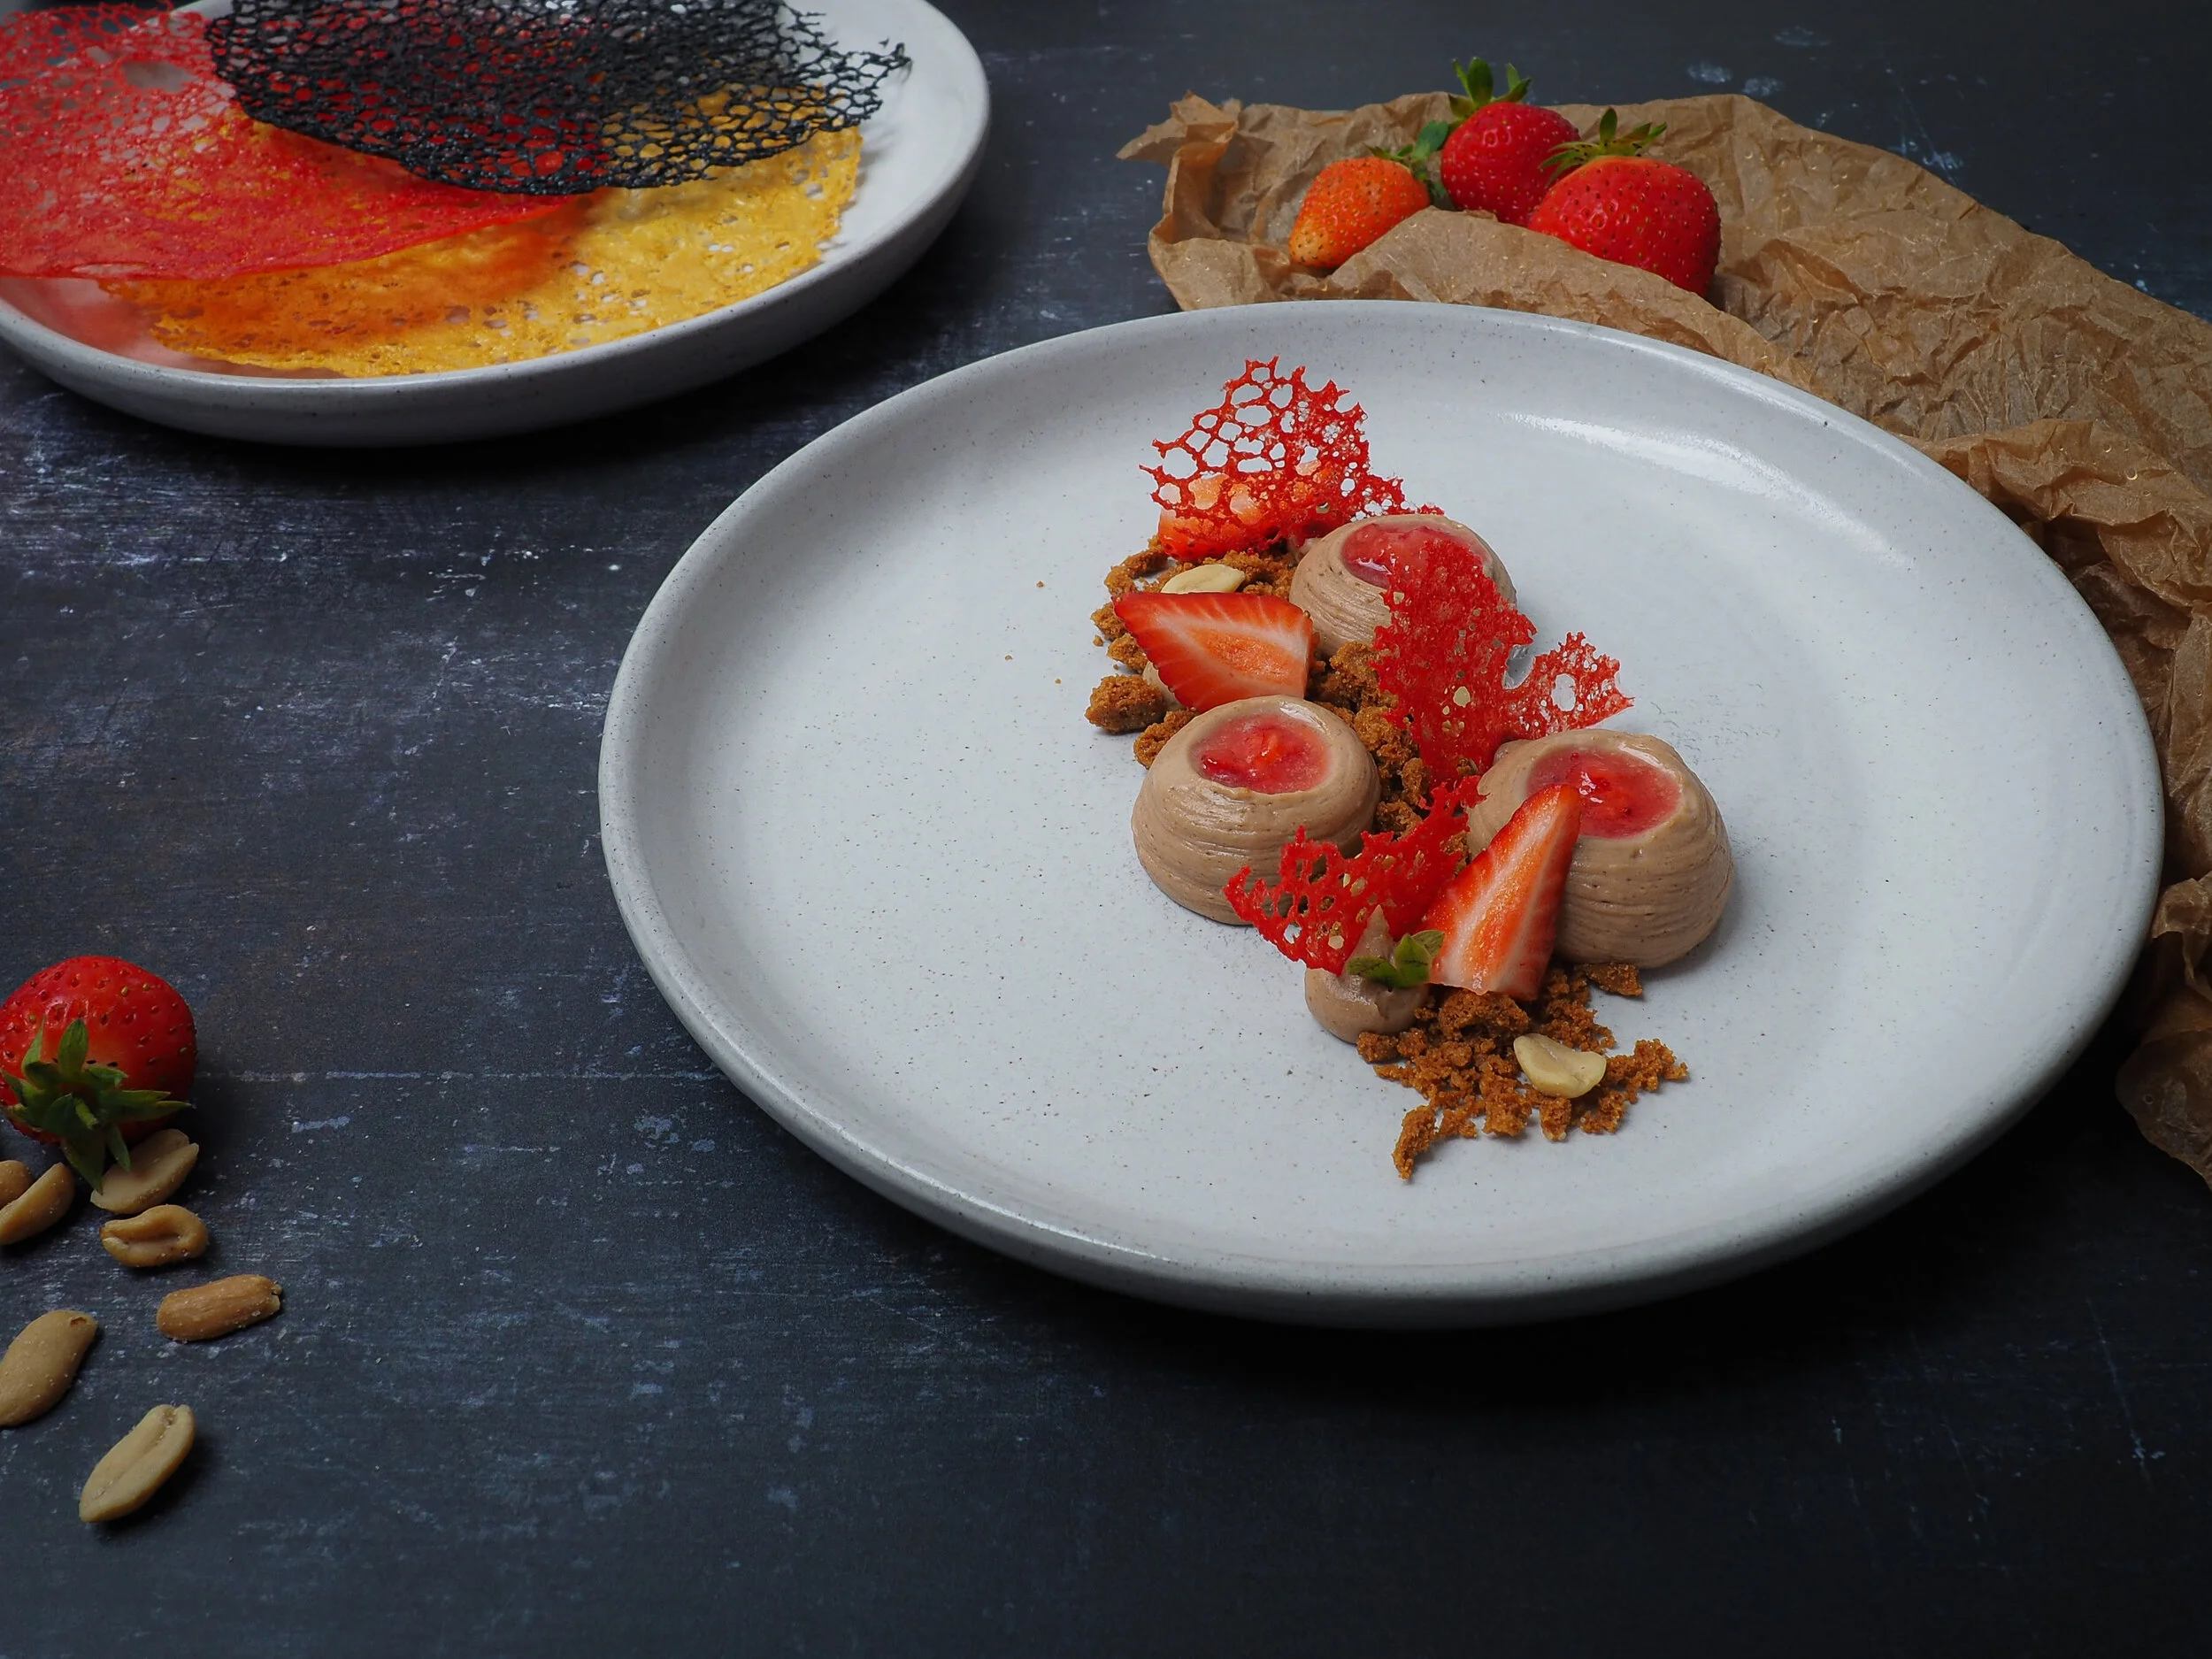
Chocolate peanut butter Namelaka with Strawberry compote and Graham crumble and red tuile.
Check out:
This is a sneak peek at just one of a HUGE selection of exclusive dessert recipes coming to “The Dessert Lab”
What’s the Dessert Lab you ask?!
In one sentence: A utopia for professional pastry chefs who want to level up their knowledge and skills collectively.
You’ll find over 250+ members that are as passionate as you are about learning, & sharing incredible recipes, tips & tricks, monthly challenges, modernist techniques, deep-dive courses, Pastry product discounts, video tutorials & so so much more. All available on our handy app for your iPhone or Android phone!
We got the eye-candy inspiration as well as the substance!
If you’d like to join me and over 250 other pastry chefs, head on over to www.thedessertlab.co